
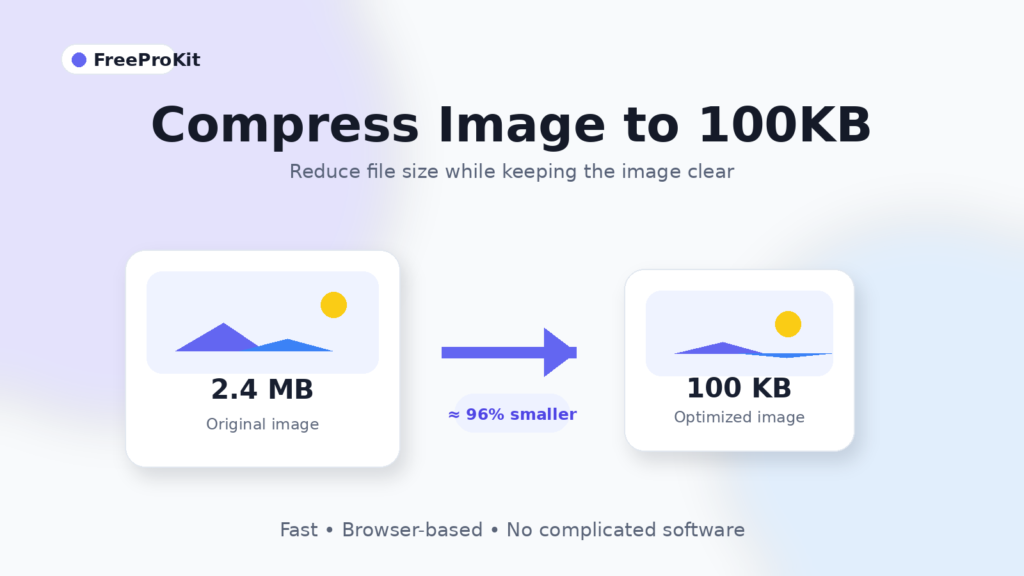
When a site, application form, or online portal only allows images to be uploaded within a specified file size, it can be frustrating to find that your image is too large. One of the most frequently mentioned limits is 100KB.
Luckily, there’s no need for expensive software or complicated editing techniques to make an image 100KB. The compression method you choose can make a huge difference in file size while maintaining clarity and usability.
This tutorial will teach you how to compress an image to 100KB, why images get large, and how to create the smallest possible image without making it look bad.
Why Would You Need an Image Smaller Than 100KB?
There are lots of websites that restrict the size of uploaded pictures to save storage space and speed up uploads.
You may need an image smaller than 100KB when uploading:
- Passport or identity photos
- Visa application photos
- Job application documents
- College or university admission forms
- Government portal documents
- Profile pictures
- Website images
- Email attachments
- Online registration forms
If your image is bigger than the allowed limit, the website may show an error message such as:
“The file size should not exceed 100KB.”
When this happens, you can use an image compressor or a tool designed specifically to resize an image to 100KB.
How to Compress an Image to 100KB Online
The simplest way to do this is to use an image compression tool that handles the process for you.
With FreeProKit, you can reduce your image size directly from your browser.
Step 1: Open the Image Compression Tool
Open the FreeProKit Resize Image to 100KB tool.
If you’re working specifically with a JPEG file, you can also use the Compress JPEG to 100KB tool.
Step 2: Upload Your Image
Select the JPG, JPEG, PNG, or other supported image file that you want to compress.
Step 3: Set the Target Size
If there is a target-size option, select 100KB as the desired file size.
Step 4: Compress the Image
Start the compression process.
The tool will remove unnecessary image data and optimize the image to make the file smaller.
Step 5: Download the Compressed Image
After compression, download the compressed image and check its file size.
You can now upload it to the site or application that requires a picture smaller than 100KB.
What Happens When an Image Is Compressed?
Digital images contain information about:
- Image dimensions
- Colors
- Pixel data
- Metadata
- Image quality
- Camera information
Some of this information is reduced during compression to make the file smaller.
For instance, a picture captured on a modern smartphone could be reduced like this:
3MB → 1MB → 300KB → 100KB
The aim is to remove unwanted data while retaining enough detail to maintain the image’s visual clarity.
If you don’t need an exact 100KB result and simply want a smaller file, FreeProKit also has a Reduce Image Size in KB tool.
Is It Possible to Shrink an Image to Exactly 100KB?
Typically, you can get very close to the desired size.
However, it isn’t always necessary to reach exactly 100.00KB.
Most sites that set a limit of 100KB simply require the image to be 100KB or less.
For example:
- 99KB — accepted
- 95KB — accepted
- 87KB — accepted
- 101KB — may be rejected
For upload forms, it is usually better to aim for approximately 90–99KB rather than exactly 100KB.
This gives you a little extra cushion.
How to Shrink an Image Without Losing Quality
If an image is heavily compressed, some quality may be lost. However, there are several methods that can help minimize that quality loss.
1. Reduce Image Dimensions
The dimensions of an image are a major factor in its file size.
For example:
4000 × 3000 pixels
is much larger than:
1200 × 900 pixels
If the image is only being used for a website or application form, you may not need extremely large dimensions.
Reducing the dimensions can significantly reduce the file size without causing noticeable deterioration in the image.
If you need more control over the final file size, you can also try the Photo Resizer in KB.
2. Use JPEG for Photographs
JPEG is usually one of the best formats for photos.
It provides decent visual quality while keeping file sizes relatively small.
The same photograph saved as PNG can be several times larger than the JPEG version.
JPEG may be a good choice for:
- Portraits
- Passport photos
- Smartphone photos
- Landscape images
- Product photos
If your image is currently a PNG and doesn’t need transparency, you can try converting it with the PNG to JPG tool before reducing the file size.
3. Remove Unnecessary Metadata
Images taken by smartphones and cameras may contain additional information such as:
- Camera model
- Date and time
- GPS information
- Exposure settings
- Editing information
This information is referred to as metadata.
Deleting unnecessary metadata can slightly reduce the image file size without changing how the image looks.
4. Avoid Repeated Compression
Repeatedly compressing and saving a JPEG can gradually reduce its quality.
If possible, use the original image and compress it once to the desired size.
For JPEG files where you want to experiment with optimization, you can use FreeProKit’s JPEG Optimizer.
5. Find the Right Balance Between Size and Quality
Heavy compression can make images appear:
- Blurry
- Pixelated
- Grainy
- Washed out
The smallest file isn’t always the best file.
Instead, aim for the smallest file size that still maintains enough clarity for its intended use.
Image Compression vs Image Resizing
These two terms are often confused, but they refer to different processes.
Image Compression
Compression decreases the amount of data stored within an image.
For example:
800KB → 100KB
The dimensions of the image may remain the same.
FreeProKit’s Image Compressor is useful when you mainly want to reduce the amount of storage used by an image.
Image Resizing
Resizing changes the image’s width and height.
For example:
4000 × 3000 → 1200 × 900
Shrinking the dimensions of an image often reduces the file size as well.
Sometimes, both image compression and resizing are needed to achieve the best result.
JPEG vs PNG: Which Is Better for a 100KB Image?
The best format depends on the type of image.
JPEG
JPEG is suitable for:
- Photos
- Portraits
- Natural images
- Camera images
It typically produces smaller file sizes.
If you’re working with JPEG files, the Compress JPEG to 100KB tool is designed specifically for this target.
PNG
PNG works well for:
- Logos
- Icons
- Screenshots
- Graphics
- Images with transparency
However, PNG images can be fairly large compared with JPEG images.
If you need to keep your image as PNG, you can try the Compress PNG tool.
If transparency isn’t important, another option is to convert PNG to JPG and then compress the resulting JPEG.
Why Is My Image Still Bigger Than 100KB?
In some cases, an image may still remain larger than 100KB after compression.
This can happen for several reasons.
Very Large Dimensions
A 6000 × 4000 image contains millions of pixels.
Reducing its dimensions can make a significant difference.
Complex Image Details
Images with lots of textures, colors, and fine details are more difficult to compress.
PNG Format
A high-resolution PNG can remain large even after optimization.
Converting it to JPEG may result in a much smaller file.
High-Quality Settings
The higher the image quality setting, the more storage space the image will use.
Reducing the quality slightly can produce a much smaller file with only a minor visual difference.
How Much Can a Picture Be Compressed?
It depends on the original image.
| Original Size | Target Size | Approximate Reduction |
|---|---|---|
| 5MB | 100KB | About 98% |
| 2MB | 100KB | About 95% |
| 1MB | 100KB | About 90% |
| 500KB | 100KB | About 80% |
| 200KB | 100KB | About 50% |
If a large reduction is needed, both compression and resizing may be necessary.
Is Online Image Compression Safe?
When dealing with personal documents, privacy is important.
If you’re using an online file tool, always review how the website handles your files.
FreeProKit is designed to process supported tools directly in your browser whenever possible, which can help reduce unnecessary file uploads.
It is still advisable not to upload highly sensitive information to services you don’t trust.
Should You Use 50KB, 100KB, or 200KB?
The correct size depends on the site where you’re uploading the image.
50KB
Useful when a website has a very strict file-size limit.
The image may require stronger compression.
If that’s what you need, try the Compress Image to 50KB tool.
100KB
A common size for:
- Application forms
- Passport-style photos
- Profile images
- Registration portals
It usually provides a reasonable balance between image quality and file size.
You can use either Resize Image to 100KB or, for JPEG files, Compress JPEG to 100KB.
200KB
This gives you more room to preserve image detail while still keeping the file relatively small.
For JPEG files, FreeProKit also provides a Compress JPEG to 200KB tool.
Always follow the requirements shown on the website or application form.
Tips for Better Results
Here are some simple things you can try before compressing your image:
- Crop unnecessary areas.
- Remove empty backgrounds when appropriate.
- Resize extremely large images.
- Use JPEG for photographs.
- Don’t always save at the highest quality.
- Start with the original image.
- Keep a copy of the original before editing.
These steps can help you reach 100KB without making the image unnecessarily blurry.
Frequently Asked Questions
How Do I Reduce a JPEG to Less Than 100KB?
Use an image compression tool to reduce the JPEG quality and, if needed, resize the image dimensions until the file becomes smaller than 100KB.
You can also use FreeProKit’s Compress JPEG to 100KB tool for this purpose.
Can I Compress an Image to 100KB Without Installing Software?
Yes. Browser-based image compression tools allow you to reduce image size without installing desktop software.
You can use the Resize Image to 100KB tool directly from your browser.
Will Compression Make My Image Blurry?
Small amounts of compression usually aren’t noticeable. Extremely heavy compression can result in reduced sharpness or visible artifacts.
Is 100KB Less Than 1MB?
Yes.
Approximately:
1MB = 1024KB
So, 100KB is roughly one-tenth of 1MB.
How Can I Check the Size of an Image File?
On most devices, you can view the image’s file properties or details.
You can also verify the file size after downloading your compressed image.
Is It Possible to Reduce a PNG to 100KB?
Yes, but some PNG files aren’t easy to compress significantly.
You can try the Compress PNG tool first. If transparency isn’t required, converting the image with PNG to JPG may result in a smaller file.
Which Image Format Is Best for Small File Sizes?
JPEG and WebP are generally good formats for photographs.
PNG is better suited to graphics and transparency but can produce larger files.
Compress Your Image to 100KB for Free
If your photo or image is too large for an online form, you don’t need to experiment with complicated editing software.
The FreeProKit Resize Image to 100KB tool can quickly process your image and prepare it for upload.
If you’re working specifically with a JPEG, you can also use the Compress JPEG to 100KB tool.
Whether you’re submitting an application, uploading a profile picture, or optimizing an image for the internet, reducing unnecessary file size can make uploads faster and easier.
You can also explore FreeProKit’s Image Compressor and other image tools when you need a different file size or format.